
Introduction to the Django admin page
When you create a new project using the startproject command, Django automatically generates the admin page for managing models including creating, reading, updating, and deleting which is often known as CRUD.
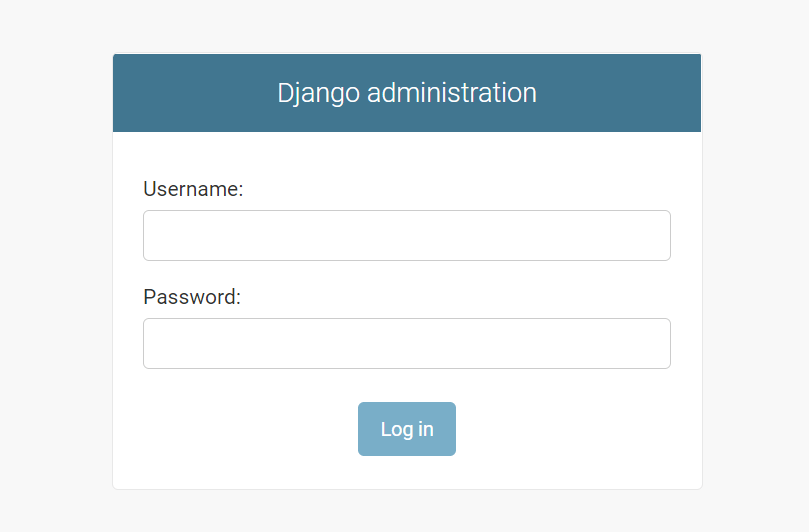
To access the admin page, you navigate to the URL http://127.0.0.1/admin/. It’ll open the login page:
Note that Django specifies the admin/ in the urls.py of the project:
from django.contrib import admin
from django.urls import path, include

urlpatterns = [
    path('admin/', admin.site.urls),
    path('',include('blog.urls'))
]
Code language: Python (python)
The Django admin requires an account to log in. Therefore, you need to create a user using a Django command.
Creating a superuser account
To create a superuser account, you use the createsuperuser command this:
python manage.py createsuperuserCode language: plaintext (plaintext)It’ll prompt for a username, email address, and password:
Username: john
Email address: john@shishirkant.com
Password:
Password (again):
Superuser created successfully.Code language: plaintext (plaintext)
Run the Django development server:
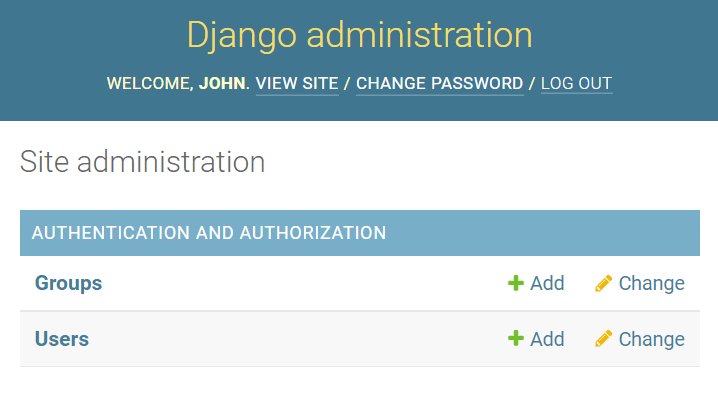
python manage.py runserverCode language: plaintext (plaintext)And log in using the created user, you’ll see the default admin page that manages users & groups:
To show the Post model on the admin page, you need to register it in the admin.py of the blog application:
from django.contrib import admin
from .models import Post


admin.site.register(Post)
Code language: Python (python)
In this code:
- First, import the
Postfrom themodels.pyfile. - Second, register it using the
admin.site.register(Post).
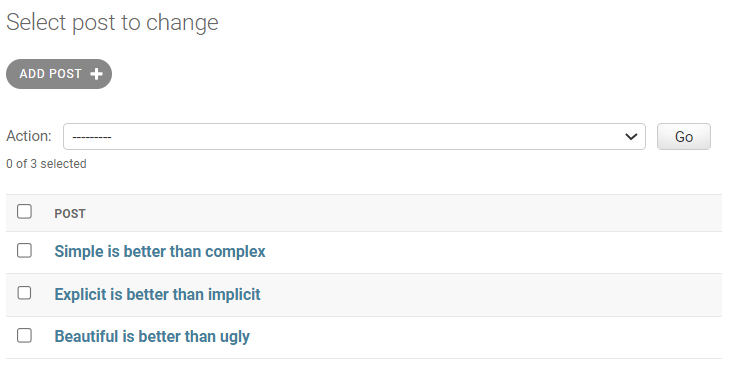
Once you register the model, you’ll see that it appears on the admin site:
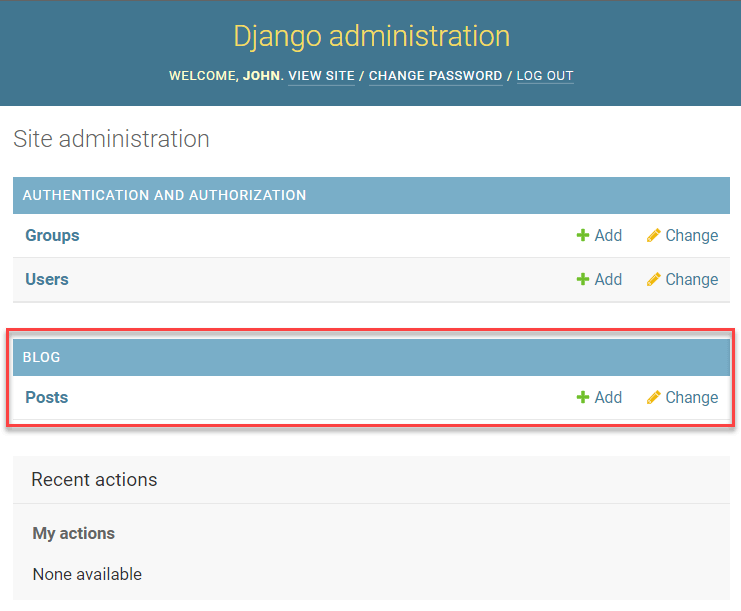
From here, you can manage the posts including creating, updating, deleting, and viewing the posts. For example, you can create a post by clicking the Add button:
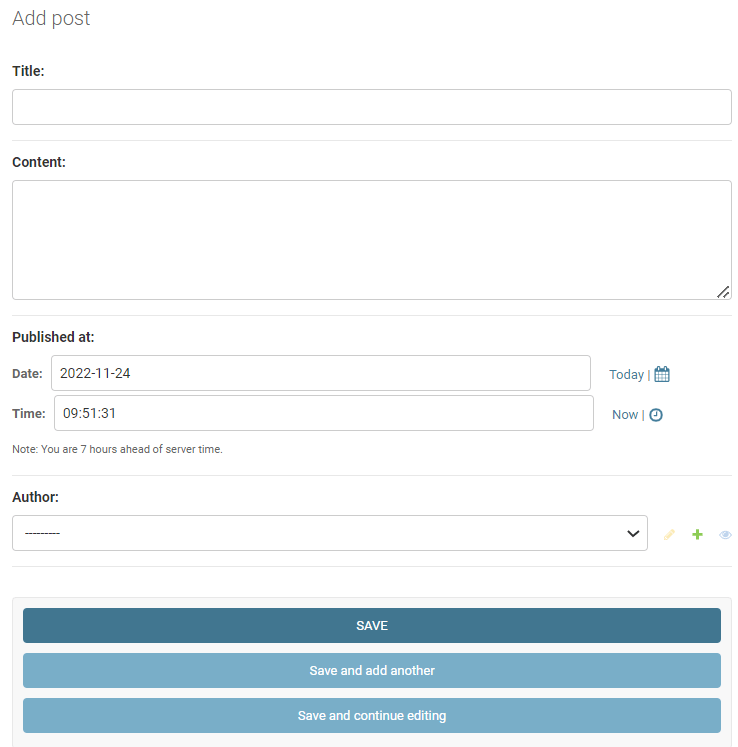
Let’s create three posts:
Display data from the database
To display the posts from the database, you need to change the home() function in the views.py of the blog application:
from django.shortcuts import render
from .models import Post


def home(request):
    posts = Post.objects.all()
    context = {'posts': posts}
    return render(request, 'blog/home.html', context)


def about(request):
    return render(request, 'blog/about.html')
Code language: Python (python)
How it works.
First, import the Post model from the models.py module:
from .models import PostCode language: Python (python)Next, get all posts from the database using the Post model:
posts = Post.objects.all()Code language: Python (python)The all() method returns a QuerySet that contains all Post objects from the database. Note that you’ll learn more about how to interact with the database in the Django ORM section.
Then, create a context dictionary with the key as 'posts' and the value as the posts QuerySet:
context = {'posts': posts }Code language: JavaScript (javascript)After that, pass the context to the render() function:
return render(request,'blog/home.html', context)Code language: Python (python)Finally, show the posts in the home.html template:
{% extends 'base.html' %}
{% block content %}
<h1>My Posts</h1>
{% for post in posts %}
<h2>{{ post.title }}</h2>
<small>Published on {{ post.published_at | date:"M d, Y" }} by {{ post.author | title}}</small>
<p>{{ post.content }}</p>
{% endfor %}
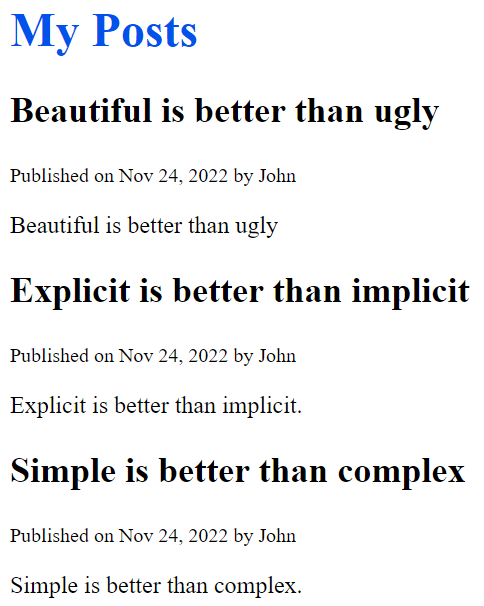
{% endblock content %}Code language: HTML, XML (xml)If you open the URL http://127.0.0.1/, you’ll see three posts from the database:
If you download the project source code, the password for the superuser is NJ24on7eJRSd8a2UlSpg
Summary
- Django comes with a default admin panel that allows you to manage users, groups, and models.
- Use the
createsuperuserto create a superuser for logging in to the Django admin site. - Use the
admin.site.registermethod to register a model to the admin panel. - Use the
all()method of theModel.objectsto get all models as aQuerySetfrom the database.